Managing Contacts
Create, edit, search, tag, and bulk-manage your contacts.
Managing Contacts
Creating a Contact
- Click + New Contact in the top-right
- Fill in contact details:
- First name and last name
- Email address
- Phone number
- Any custom fields
- Add tags for organization
- Click Save
app.kingcaller.ai
2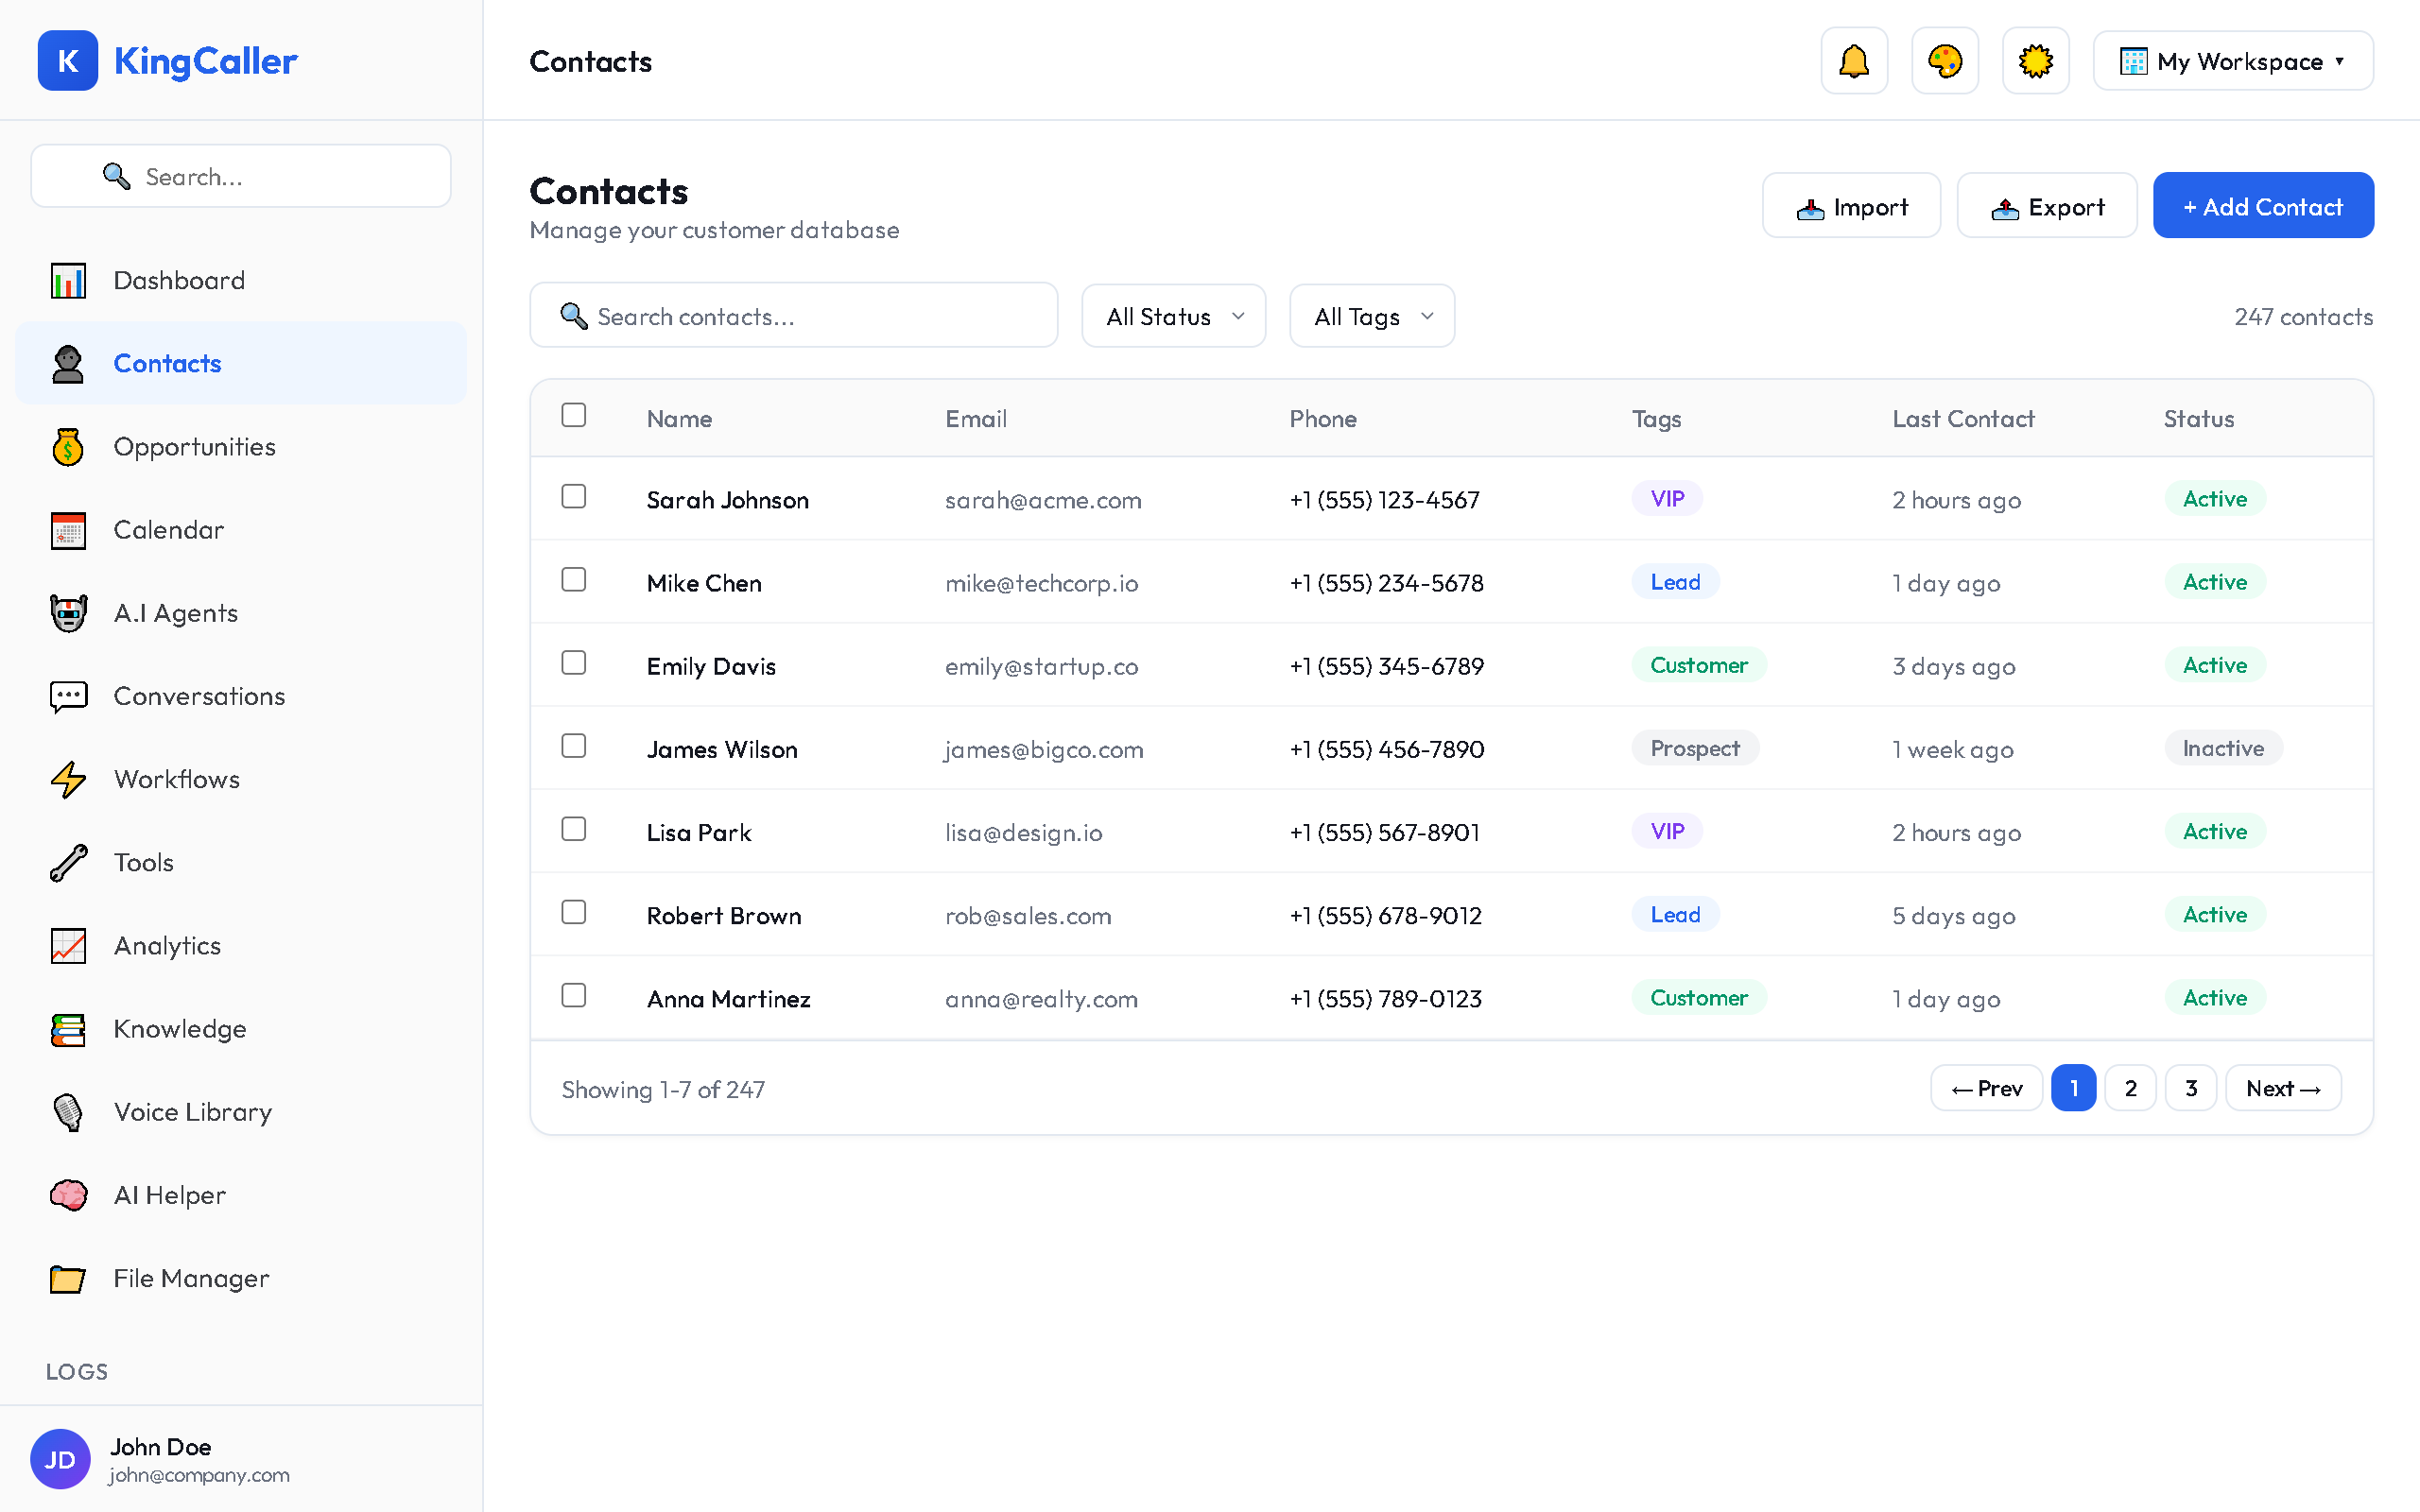
Viewing Contact Details
Click on any contact row to open their detail page, which shows:
- Full profile information
- Call history with this contact
- Conversation threads (SMS, Email, WhatsApp)
- Associated opportunities
- Notes and tags
- Activity timeline
app.kingcaller.ai
Searching & Filtering
Search Bar
Type in the search bar to find contacts by name, email, or phone number. Results filter in real-time as you type.
Column Sorting
Click any column header to sort ascending/descending:
- Name (A–Z / Z–A)
- Date created (newest/oldest)
- Last activity
Column Editor
Click the Columns button to customize which fields appear in the table. Check/uncheck columns and drag to reorder.
Tag Management
Tags help you organize and segment contacts:
Applying Tags
- Select one or more contacts using the checkboxes
- Click Tags in the bulk action bar
- Choose existing tags or create new ones
- Apply to all selected contacts
app.kingcaller.ai
2Filtering by Tag
Use the tag filter dropdown to view only contacts with specific tags.
Bulk Actions
Select multiple contacts with checkboxes, then use the action bar:
- Apply/Remove Tags — batch tagging
- Export Selected — download selected contacts as CSV
- Delete Selected — remove contacts (with confirmation)
Tip: Use the Select All checkbox in the header to select all contacts on the current page.