Managing Tools
Create, configure, and assign tools to your AI agents.
Managing Tools
Creating a Tool
- Navigate to Tools in the sidebar
- Click + Create Tool
- Select the tool type (API, Webhook, Function, Integration, CRM)
- Configure the tool settings
app.kingcaller.ai
3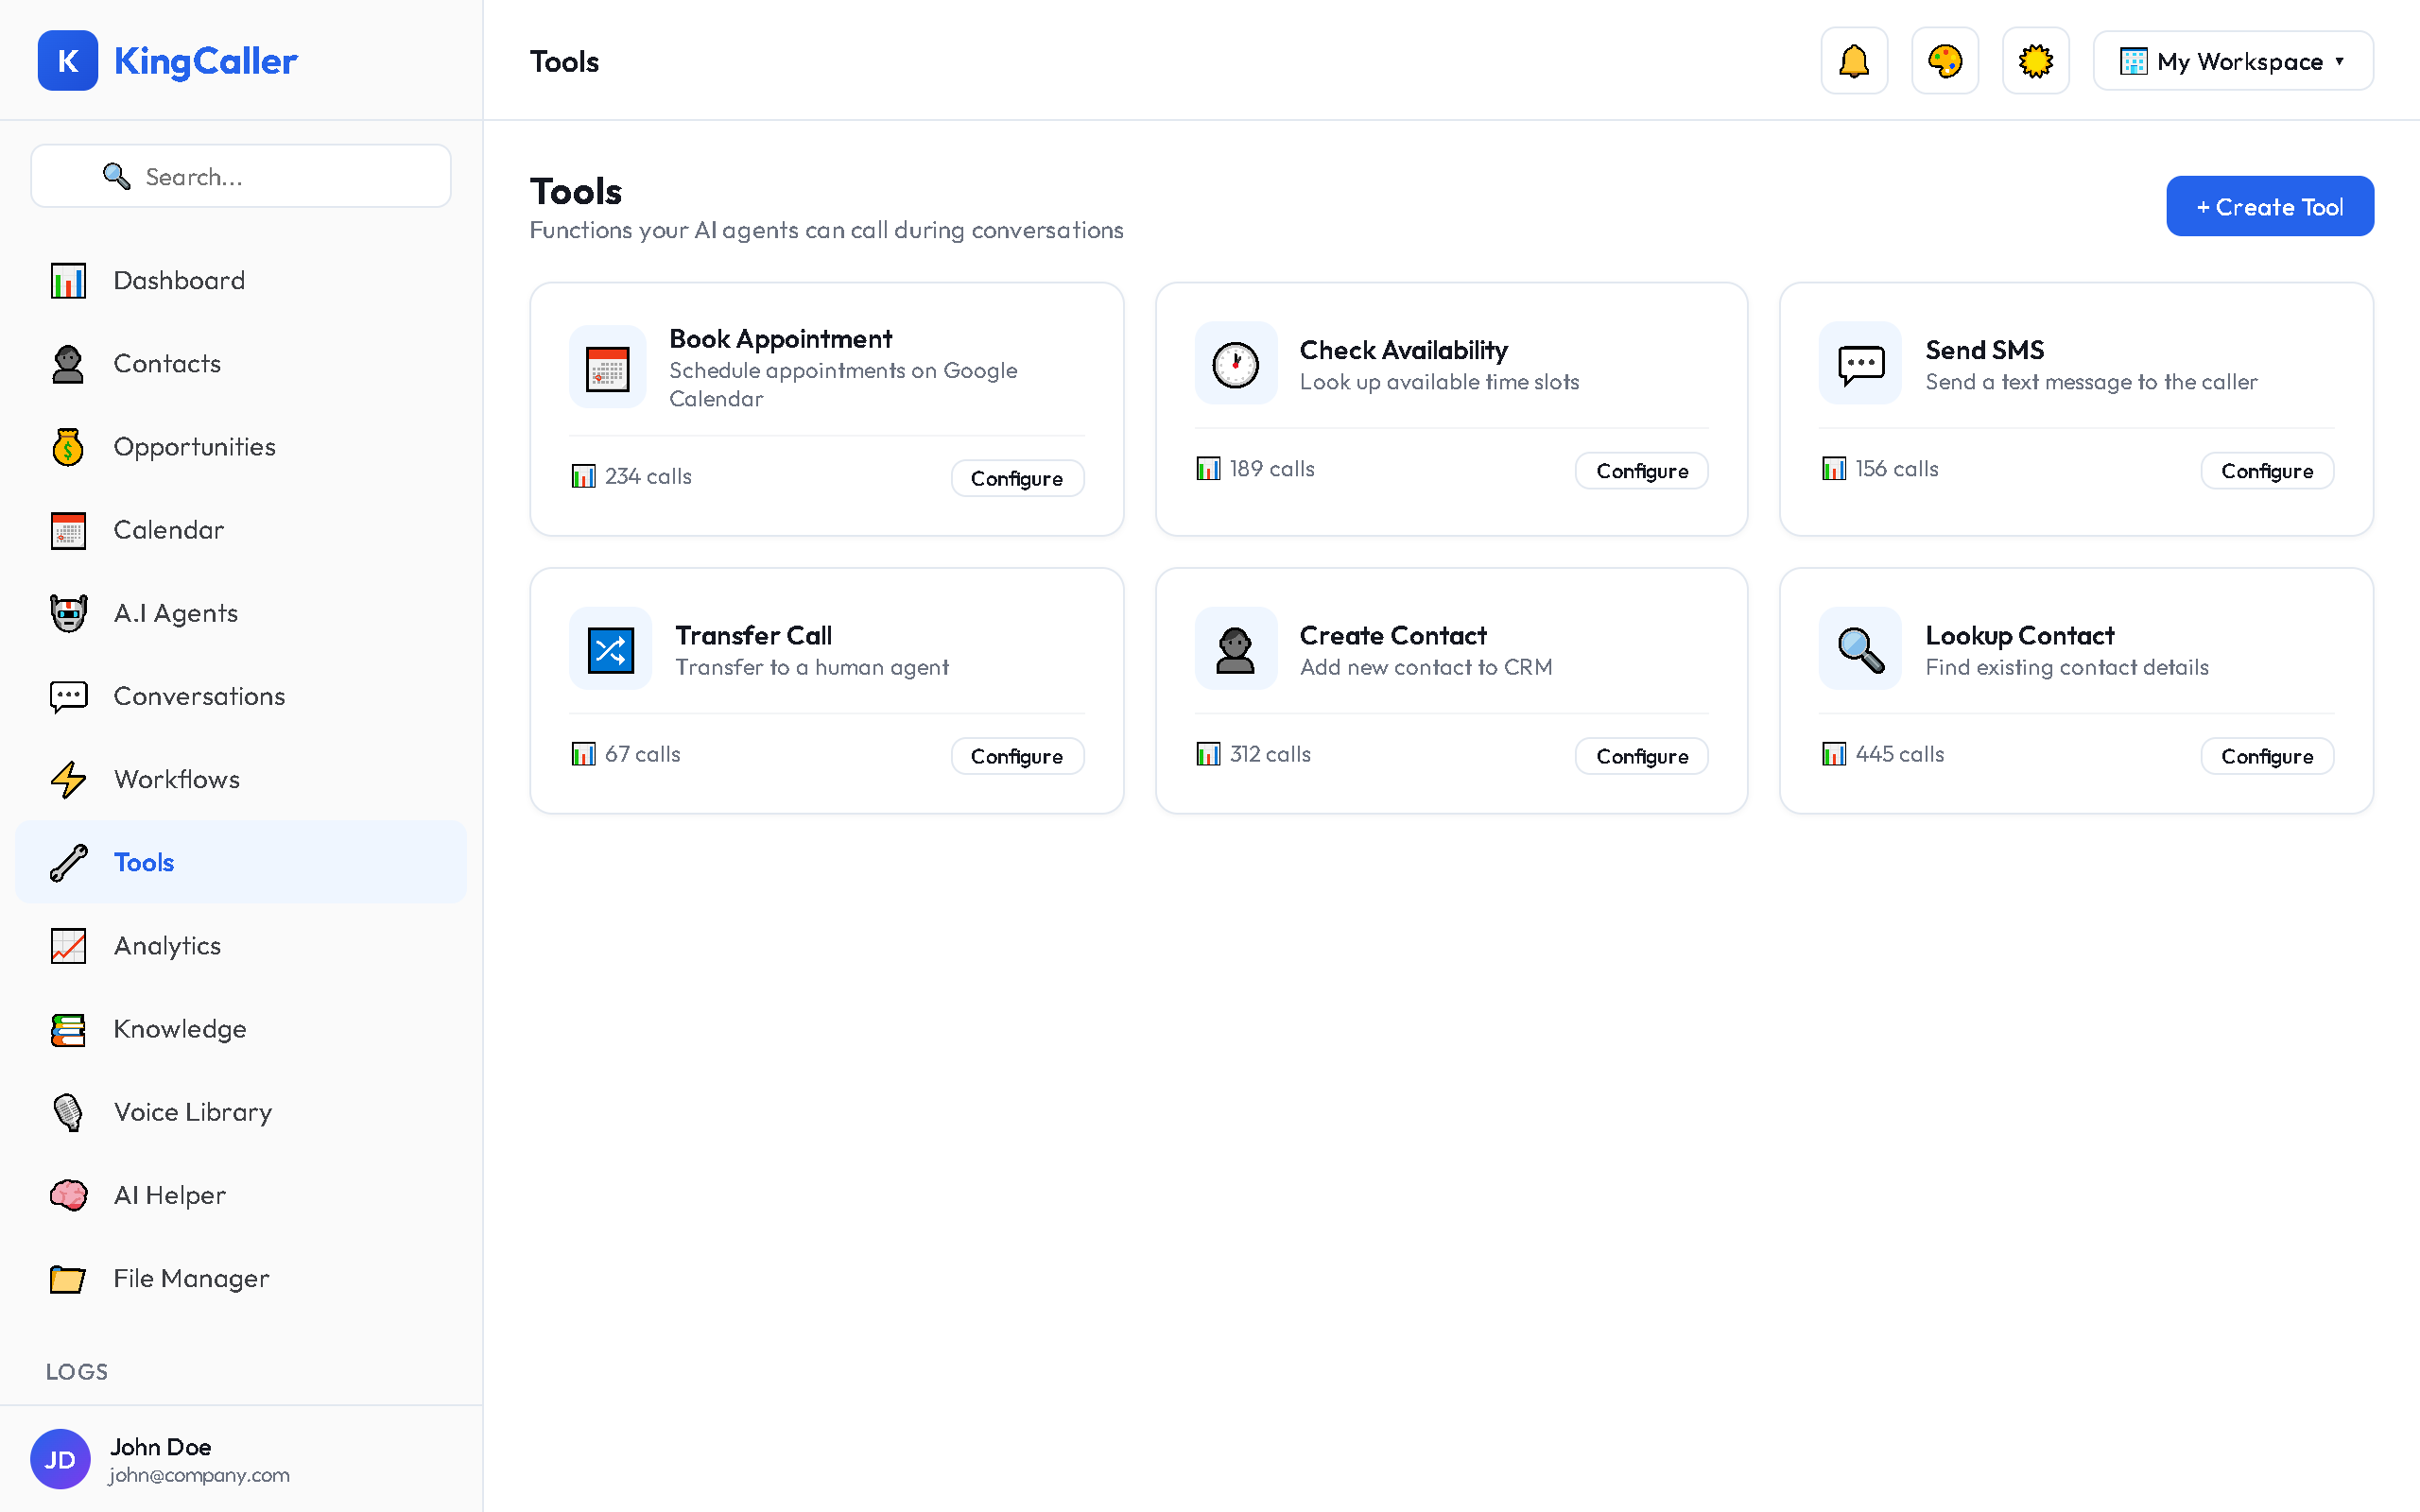
API Tool Configuration
| Field | Description |
|---|---|
| Name | Tool name the agent sees (e.g., "check_availability") |
| Description | What the tool does — the agent uses this to decide when to call it |
| HTTP Method | GET, POST, PUT, DELETE |
| URL | The API endpoint |
| Headers | Authentication headers, content-type |
| Parameters | Input parameters the agent provides |
| Body Template | Request body (for POST/PUT) |
Writing Good Tool Descriptions
The agent uses the description to decide when to invoke a tool. Be specific:
✅ Good: "Check available appointment slots for a given date. Use when the caller asks about availability."
❌ Bad: "Calendar tool"
Assigning Tools to Agents
- Open an agent in the Agent Builder
- Go to the Tools section
- Toggle on the tools this agent should have access to
- Save changes
app.kingcaller.ai
3Execution History
View every tool call made by your agents:
- Go to Tools
- Click Execution History or Logs tab
- Each entry shows:
- Timestamp — when the tool was called
- Agent — which agent used it
- Input — parameters sent
- Output — response received
- Status — success or error
- Duration — execution time
Editing and Deleting Tools
- Edit: Click any tool to open its configuration
- Delete: Click the menu (⋮) → Delete
- Duplicate: Click the menu (⋮) → Duplicate (useful for creating similar tools)
Warning: Deleting a tool that's assigned to an active agent may cause errors during calls. Unassign it from agents first.