Pipelines
Create and manage sales pipelines with custom stages for tracking deal progression.
Pipelines
Pipelines define the stages your deals move through — from initial contact to closed/won.
Creating a Pipeline
- Go to Opportunities → Pipelines Manager tab
- Click + New Pipeline
- Name your pipeline (e.g., "Sales Pipeline", "Partner Onboarding")
- Add stages in order:
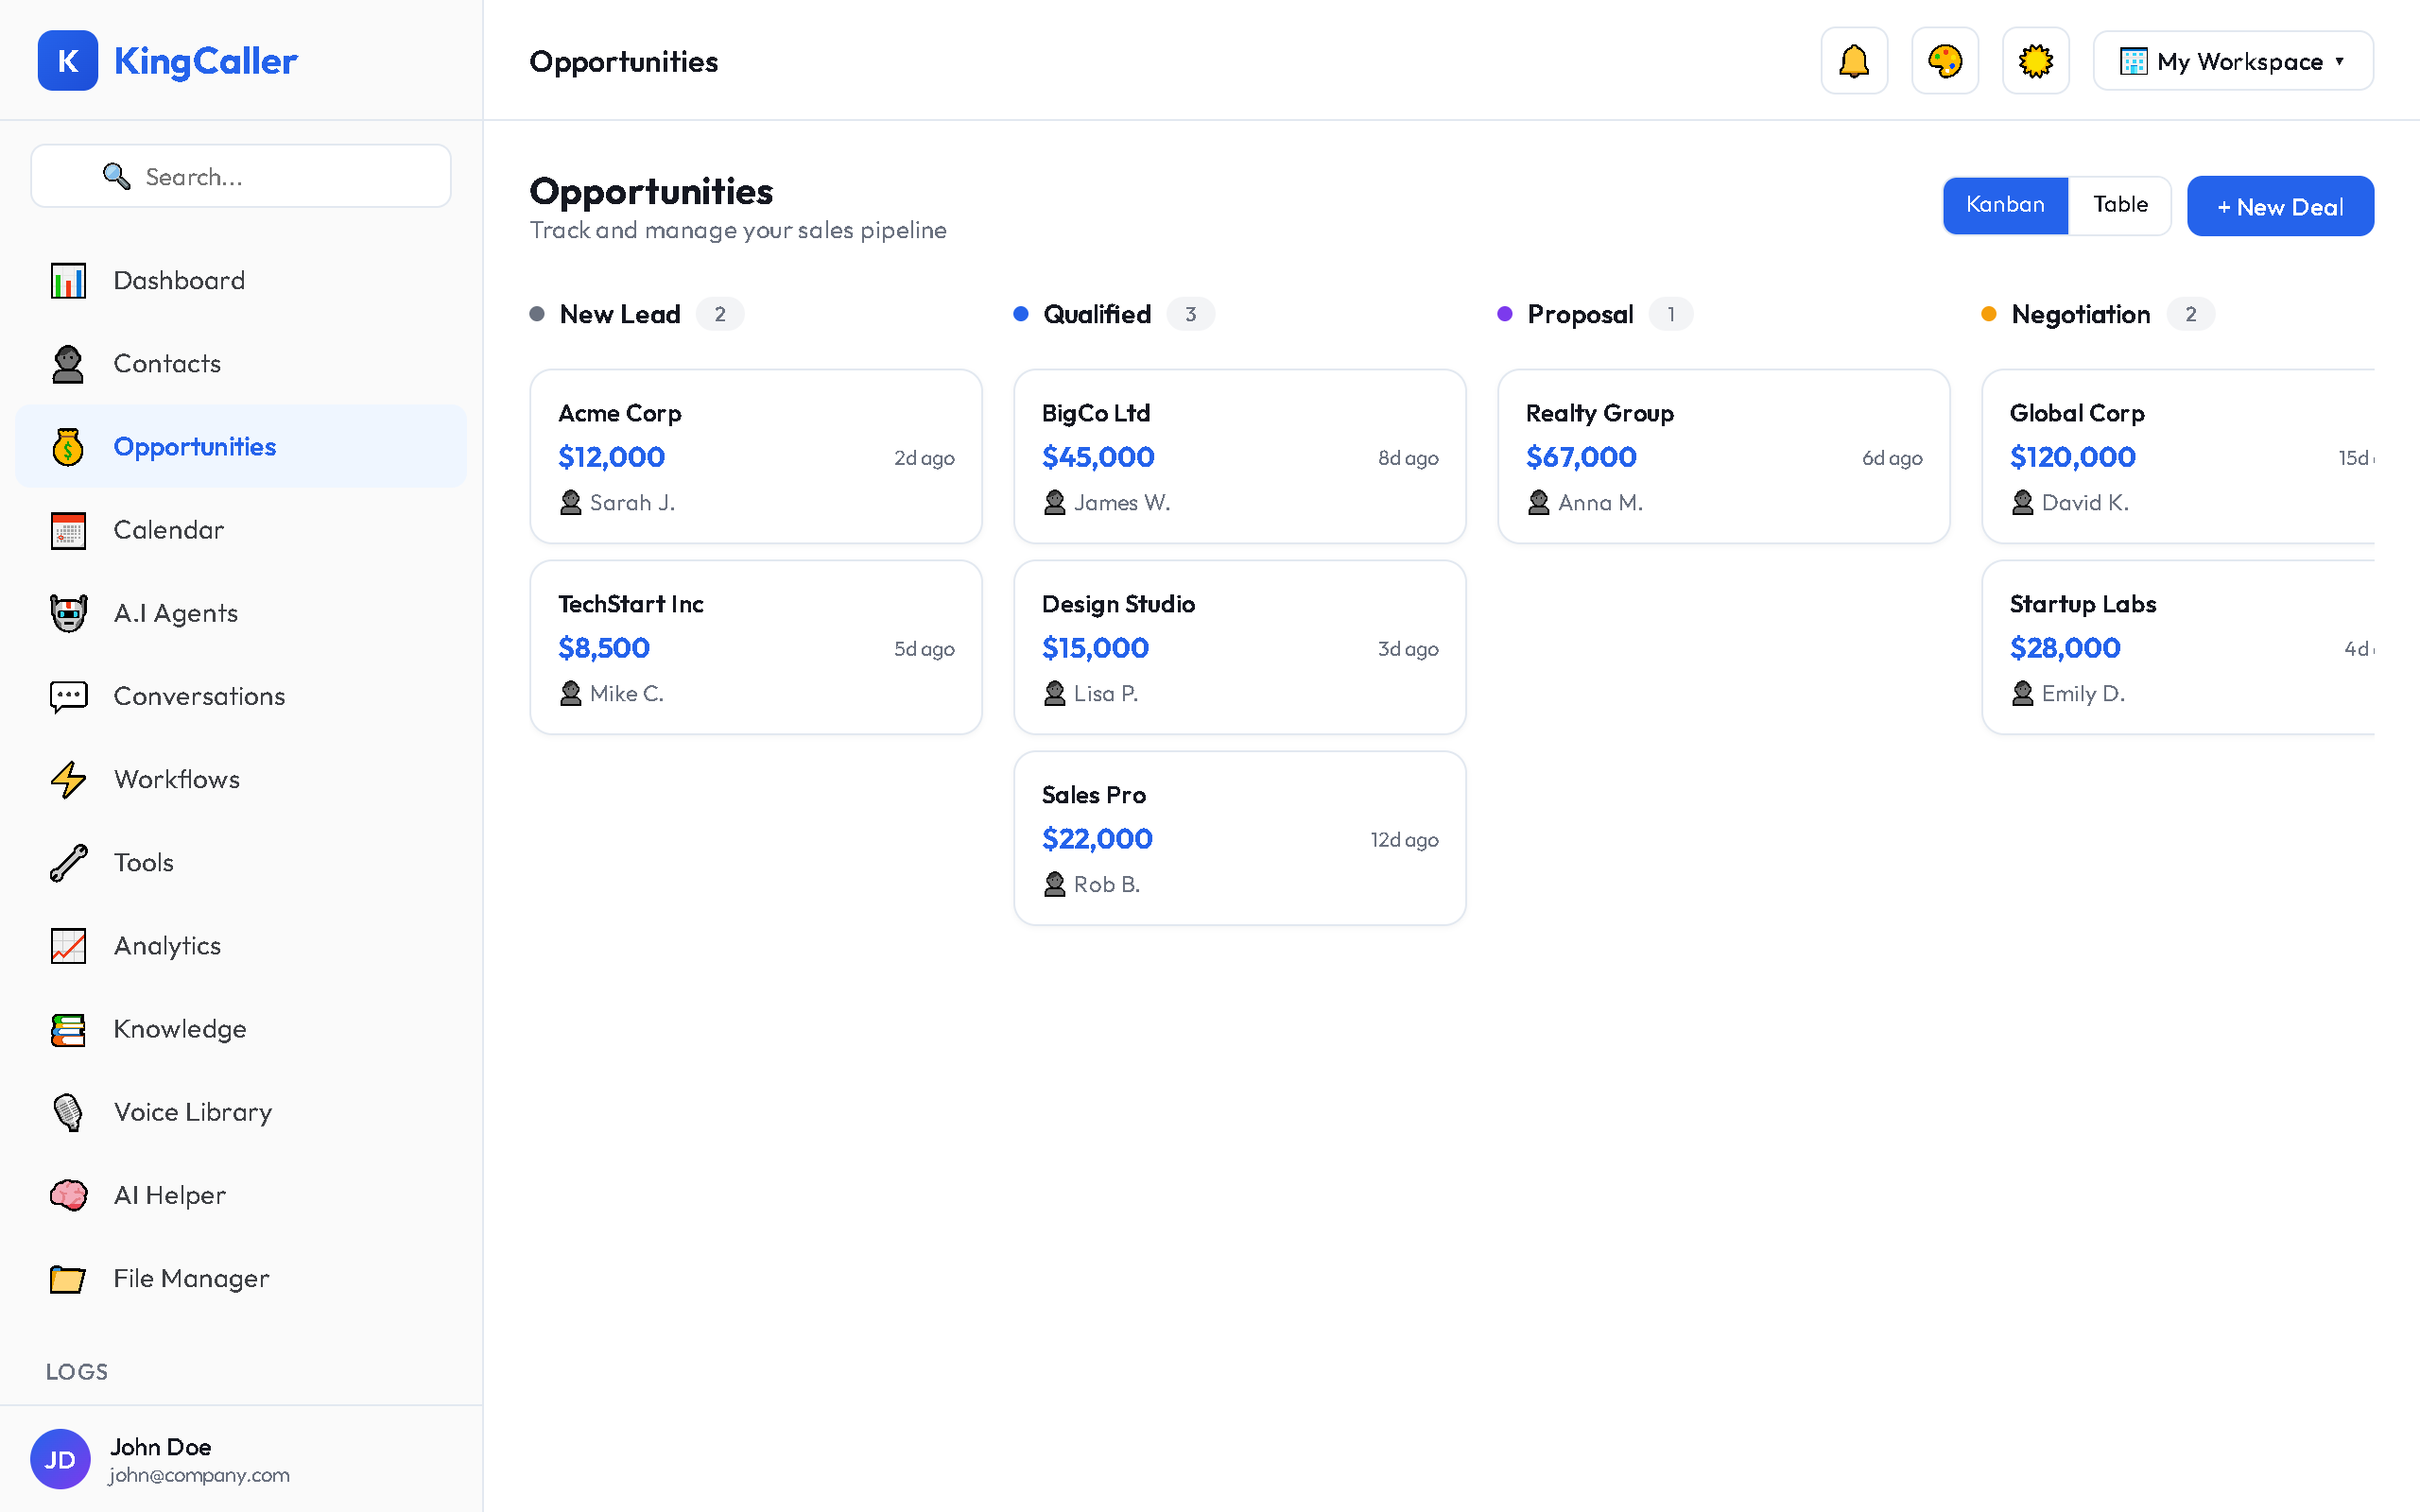
Example Pipeline Stages
| Stage | Description |
|---|---|
| New Lead | Fresh opportunity, not yet contacted |
| Contacted | Initial outreach made |
| Qualified | Lead meets your criteria |
| Proposal Sent | Offer or quote delivered |
| Negotiation | Discussing terms |
| Closed Won | Deal completed successfully |
| Closed Lost | Deal did not close |
Managing Pipeline Stages
Adding Stages
Click + Add Stage at the end of your pipeline. Name it and set a color for visual identification.
Reordering Stages
Drag stages to rearrange the order. The order represents the natural deal progression.
Editing Stages
Click the ⚙️ icon on any stage to rename it or change its color.
Deleting Stages
Remove a stage (deals in that stage will need to be moved first).
Switching Between Pipelines
Use the pipeline selector dropdown at the top of the Opportunities page to switch between your pipelines. Each pipeline has its own set of stages and deals.
Tip: You can deep-link to a specific pipeline using the URL — share the link with team members to send them directly to the right view.